Compare Marketplaces

Want to DIY Solar on a Budget to Bring Down Your Household Bills? Don't Start with Solar Panels!!!

As energy costs continue to rise and concerns about environmental sustainability grow, more and more homeowners are turning to solar power as a viable solution. The allure of slashing household bills and reducing carbon footprints makes solar energy an attractive option. However, if you're looking to invest in DIY solar on a budget, it's crucial to understand that diving straight into solar panels might not be the best starting point. Here's why and how to maximize your investment without immediately purchasing panels. A step-by-step approach.


Note: This has been written primarily for UK audience but may be useful for others as well.

If you need further clarification or assistance with any of these stages, please reach out through the contact form. We will be happy to help.

Compare Marketplaces

Prioritize Energy Efficiency First

Before generating your own power, it’s wise to minimize the amount of energy your home consumes. Implementing energy efficiency measures can dramatically reduce your electricity needs, making your solar investment more impactful.

✅Checkpoint 1: Insulation and Weatherproofing:

This step is important in your energy saving adventure. If you are absolutely sure you have already taken sufficient insulation and weatherproofing steps, you can skip this part and move on to the next checkpoint. Otherwise, please read on.

Believe it or not, less than £10 weatherproofing tape such as this and this may play a significant role. It may be the secret to why your radiator near the windows NO LONGER has to work extra hard to heat up your room, otherwise wasting energy and costing you extra £10 every month. Just peel off or remove your old drought tapes and replace it with these to save on bills for years to come.

If you really want to dig deeper into this rabbit hole and are determined to make your home absolutely weatherproof, then investing in a thermal camera such as this or this will help you spot all the droughts in your home, address them, and help you save on bills for several years. And this easy to install £13 reflector foil added behind your radiator will help to avoid major loss of the radiator heat through the walls. This could also be added on the underside of roofs.

Proper insulation in walls, attics, pipes, and basements, along with weatherproofing windows and doors, can significantly reduce heating and cooling costs. Wrapping a £12 insulation wrap such as this around your hot water pipes can save you several 12 quids for the next 10 years.

Attics/Loft will benefit from DIY loft insulation such as this to a recommended level of 300mm height, thereby saving you more than £14 every year for a typical household. A similar insulation will help for your Sheds/Annexes as well.

That almost amounts to more than £150 worth of savings every year.
Compare Marketplaces

✅Checkpoint 2: Energy-Efficient Appliances:

This step is important in your energy- and cost-saving adventure. With caution, and if you are absolutely sure you have already taken the necessary energy-efficiency measures, you can skip this part and move on to the next checkpoint. Otherwise, please read on.
Upgrade to energy-efficient appliances and lighting. Start with the lighting first and then move on to other appliances. At this point, it is a good idea to create a Excel or Google Sheet file with a list of devices in your home and its power consumption. There are several options to do these measurements:
Option 1) This may require a bit of running around the house. Buy a clamp meter with which you can measure current at the outlet of your powermeter to your house in the junction box. Then turn on device in your house one by one, bring it to functionality (such as running the microwave/washing machine), and measure their typical current/power consumption through the clamp meter.
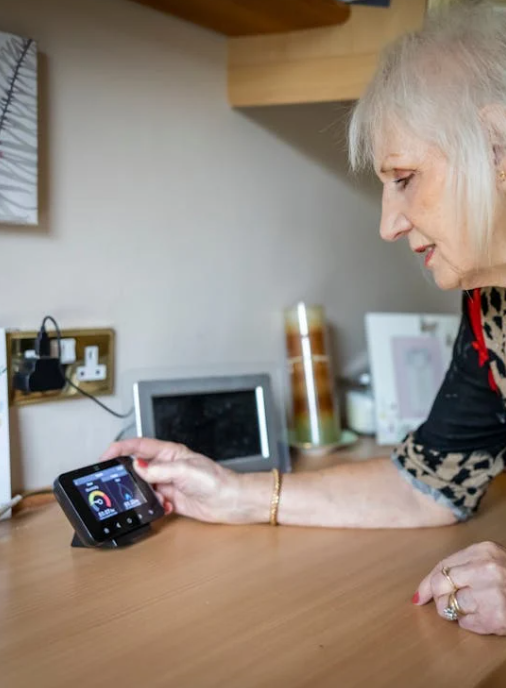
Option 2) Most electricity providers nowadays are offering free smart meters. Smart meters usually comes with a wireless In-home Display (IHD) with which you can monitor power consumption live. You can turn on devices or appliances one by one/one at a time and then can note down their power consumption. As you are embarking on installing a smart meter, you can also simultaneously consider moving to a cheaper supplier with a Economy 7 plan, for example E-On Next . More on this in Checkpoint 4
Option 3) You can use a wifi energy meter such as this.
Lumens (lm) measure how much light you are getting from a bulb or how bright a bulb is. You might already be using LED bulbs. If not, then changing to LED bulbs will lead to huge savings and will help optimize your solarification. Use the table below to find out the suitable LED power ratings to replace your inefficient lighting. You can enter the value of the devices in the calculator below to find out how much you will be able to save per year by changing them.

Incandescent
(Watts)
Halogen
(Watts)
LumensLED
(Watts)
Link LED
(Non-smart)
Link LED
(Smart)
761002Amazon
25203754AmazonAmazon
30254505AmazonAmazon
60458009AmazonAmazon
7560110012AmazonAmazon
10090160017AmazonAmazon
150145260027Amazon
200175300032Amazon
After you have sorted your lighting's energy efficiency, you can aim to replace the energy-inefficient devices at your home with energy-efficient ones. Look for Energy Star-rated products that use less electricity without compromising performance, whether it's your microwave, fridge, washing machine, or TV. Old plasma TVs consume a lot a energy. Upgrade to a modern, energy-efficient TV. For measuring the energy usage of devices, you could use any of the methods or options mentioned above, or a app based control and energy monitoring WiFi plug such as this will be very helpful for this and for further cost optimisations described later. Choosing energy-efficient devices will be great for working with solar panels. You can enter the value of the devices in the calculator below to find out how much you will be able to save per year by changing them and decide on the cost-benefit analysis.

Power savings calculator


Inefficient Devices Cost: Energy


Efficient Devices Cost: Energy


Savings


Compare Marketplaces

✅Checkpoint 3: Energy Saving Thermostats:

If you are using central gas heating, another key step which has the potential to play a significant role in cost reduction is your radiator valves.
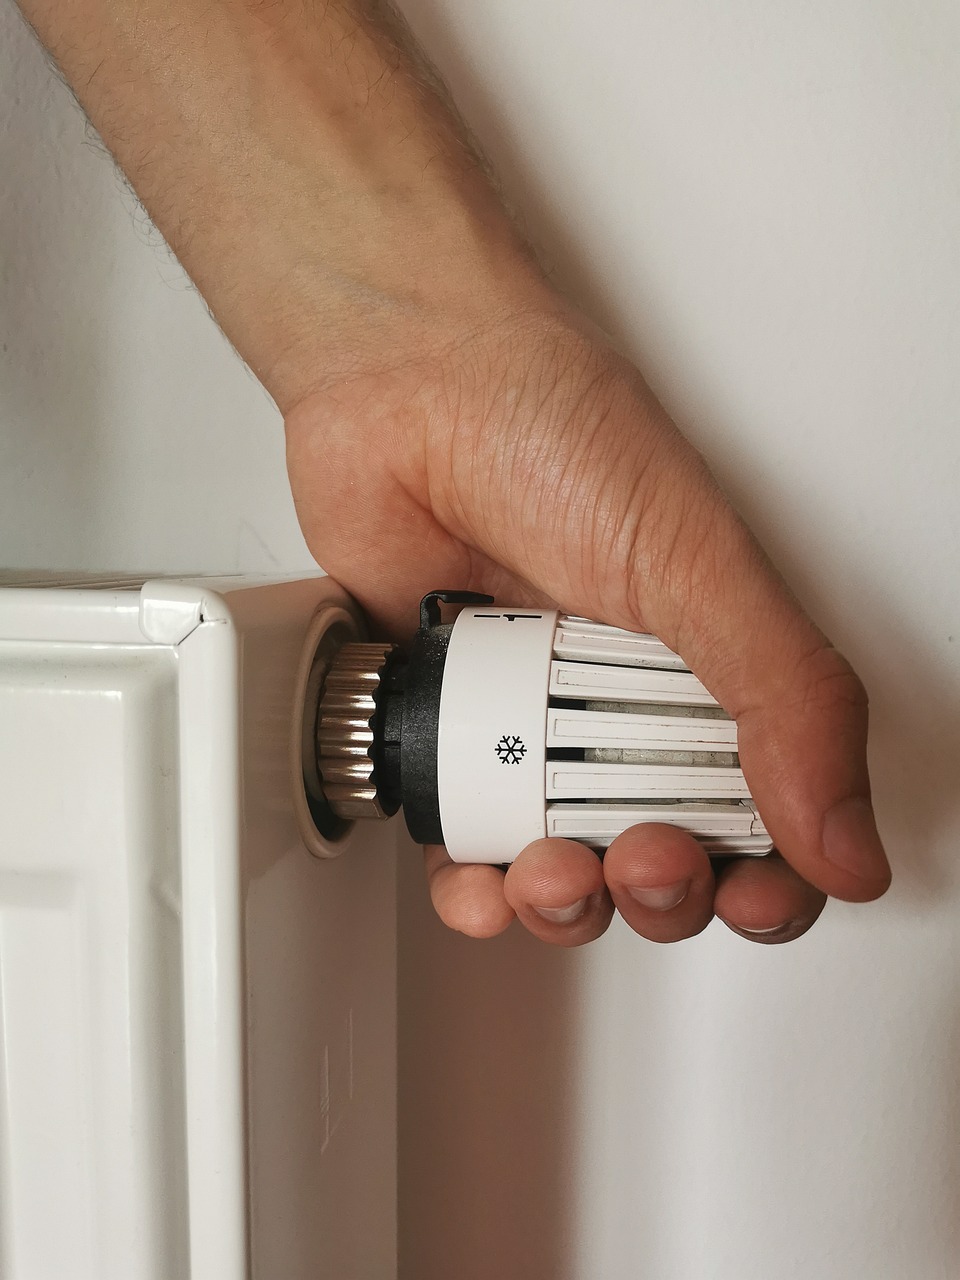
If you have manual radiator valves controlled by a central thermostat, it is wise to install Thermostatic Radiator Valves. With a bit of DIY, you will have much better room-specific auto-adjusting temperature control. This is a better energy-saving option compared to a central control, which heats up the entire house until the central thermostat reaches the desired temperature. Here is an excellent guide on how to install TRVs. The best part of this is later on, you could make it smart/app-controllable by just replacing the top head with this.
Compare Marketplaces

✅Checkpoint 4: Economy 7

Thanks to checkpoints 1 to 3, now you have a relatively much more energy-efficient home. Now consider switching to a cheaper supplier or your own supplier but to a Economy 7 plan, for example, E-On Next . An Economy 7 plan is one where, during off-peak hours (typically 7 hours per day starting at midnight), electricity will be cheaper (~7p to 15p/kWh) versus on-peak times (~30p/kWh). If you join E-On, you will receive a £50 account credit applied to your account.


Now that you have an Economy 7 plan in place, here are the things to do:

1) Any high-power consumption tasks such as running dishwasher, washing machine, car charging, or even some baking could be timed to run during the Economy 7 off-peak period. With E-On, the tariff for car charging is even lower than the usual Economy 7 tariffs. Dishwashers could run late at night (Most dishwasher such as this comes with a timer to start late at night). Washing Machines could be timed to start around 6:00 AM so that as the Economy 7 period ends, your clothes are ready for drying. Again, if you prefer indoor electric drying, with options such as the DrySoon system, you can better make use of the Economy 7 reduced rates by using it with a smart plug timed to start and stop within the Economy 7 period.

2) Carefully note down your on-peak and off-peak power consumption in kWh for the next 10 days or so. This will be used in the next stage. It will be a good idea to note down usage from any high power equipment (>2kW) such as your electric shower separately. This will be excluded in the initial battery or solar installation process.

Compare Marketplaces

✅Checkpoint 5: Battery Storage

You will put into use the knowledge you have from the previous stage here. Now you have an idea of your average on-peak and off-peak energy consumption per day. The goal of this stage is to use as much battery-stored energy as possible during your on-peak times and then charge the battery during your off-peak times and later with solar. Here is where going for a scalable solution will help you to start on a budget and then add to it in the long run. There are several options. Depending on your budget, you could carry this out in several stages:

The stages below are tentative ideas and will primarily depend on your house and how your consumer unit is configured.

Stage 1: You could start with a solution which does not require access to the consumer unit at all to begin. Consumer unit access will require an electrician as per regulations. Any equipment you use for long time or heavily during your on-peak time are the ideal candidates for this stage. If you use a home office, shed, annex, TV or even a workstation PC with several monitors, extensively during on-peak times, you could buy a plug-n-play power station(>3 kW is recommended) to suit your on-peak power consumption and then connect them through the power station. The powerstation can be set to charge during off-peak times from mains and power your devices while discharging during on-peak times. Another even more cost-effective scalable option instead of this all-in-one powerstation is to start building your own battery storage/inverter solution to use.

You could achieve this with the following components:

-a inverter such as this. The inverter comes with its built-in transfer switch which will come in handy.

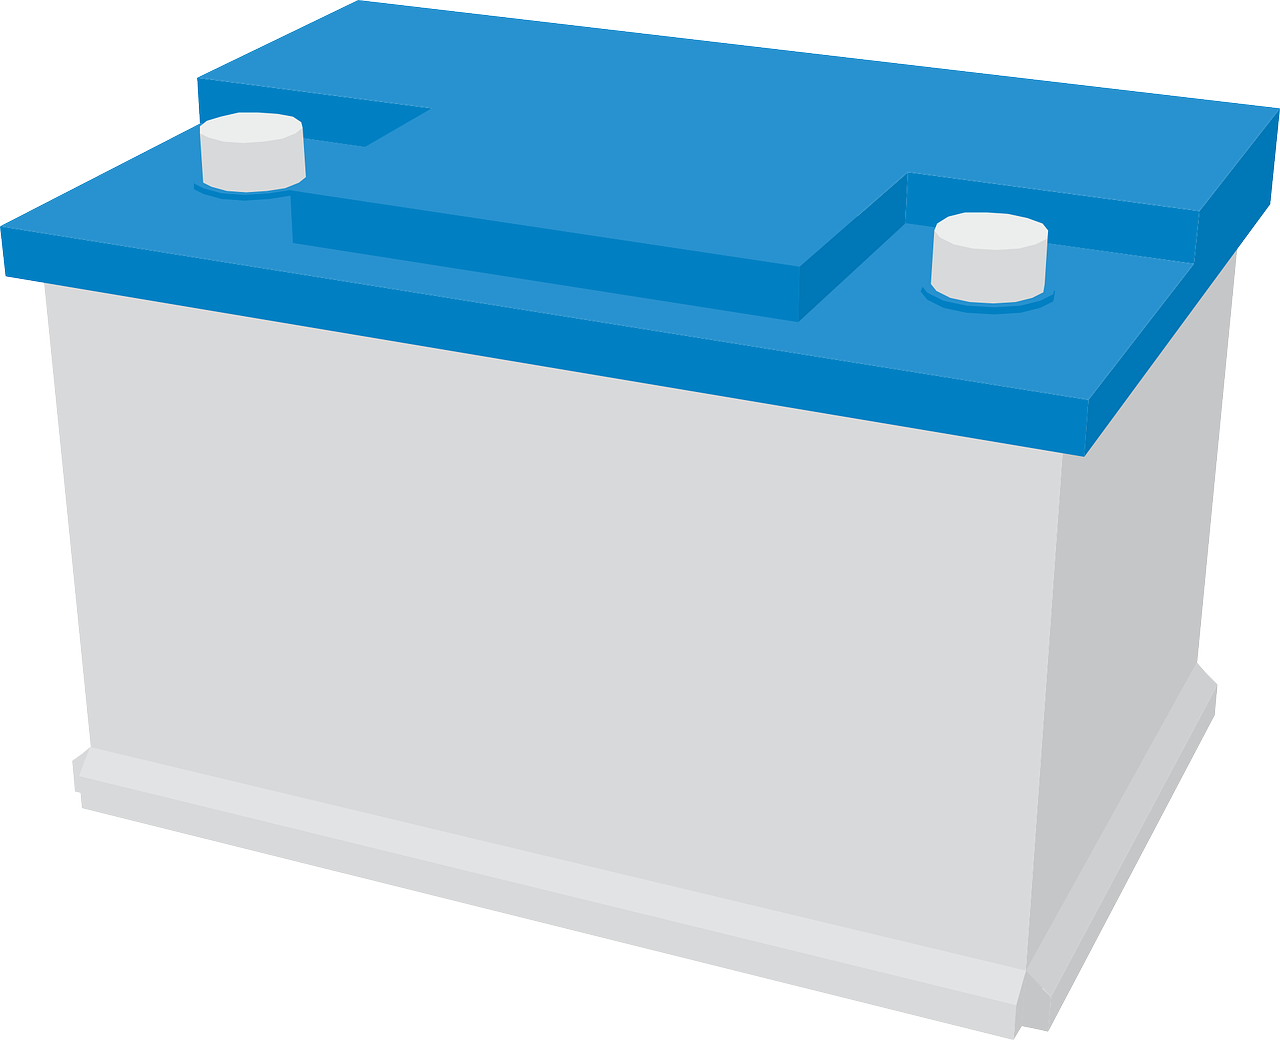
-a battery (pick a 12V battery from here with a suitable kWh (i.e. 12 V x battery's Ah/1000)). It is recommended to add some inline fuses in the battery and the charger

-a charger such as this

-Protection fuses/transfer switch/isolation in your consumer unit

-a smart plug timed to turn off the charger during on-peak times and turn on the charger during off-peak times for charging the battery.

-another smart plug timed to turn on the inverter bypass AC input during off-peak times and turn-off during on-peak times.

The latter your own inverter solution is a more scalable solution compared to the power station option. Getting familiar with your battery storage system for few months will help in the next stage. Congrats! on your first battery storage project, which will eventually lead to solar installation.

Stage 2: Now that you are familiar with this off-peak storage and on-peak usage for a selective area, lets try to add battery storage to major part of your home. This will require, as per regulations, an electrician for one task, that is access to consumer unit, while the rest could be DIY. Now you need to scale up the battery to power most of the devices throughout off-peak times. This will include and will depend on the energy usage you have estimated in the ✅Checkpoint 4 stage. The capacity for the above-recommended inverter is 3 kW as per stage 1 of this checkpoint. This implies equipment such as an electric shower, which tends to consume >5 kW typically, cannot be powered through this inverter. Most other equipment within a kW of power requirement can be powered through this inverter with the caveat that, at a time, the total power consumption cannot exceed 3 kW. This implies all lighting and most other low power equipment can be operated simultaneously. But equipment such as kettle, microwave, iron, etc., need to be operated one at a time when using inverter. Not simultaneously. If this minor inconvenience is bearable, then this solution will lead to a huge power saving on a budget. The inverter and the battery should be installed in a shed or a electrical kiosk near the junction box. The output of the inverter will be fed as a input to all the low-power consuming sections in your consumer unit. Usually, cooker/convection ovens and showers will have their own separate circuit paths in the consumer unit. The rest could be connected to the inverter. Warning: Seek advise from an Electrician before implementing this stage! More batteries have to be added in parallel to power most of the home during on-peak times. Congrats you are very close to solar installation now!!!
Compare Marketplaces

✅Checkpoint 6: Solar panels

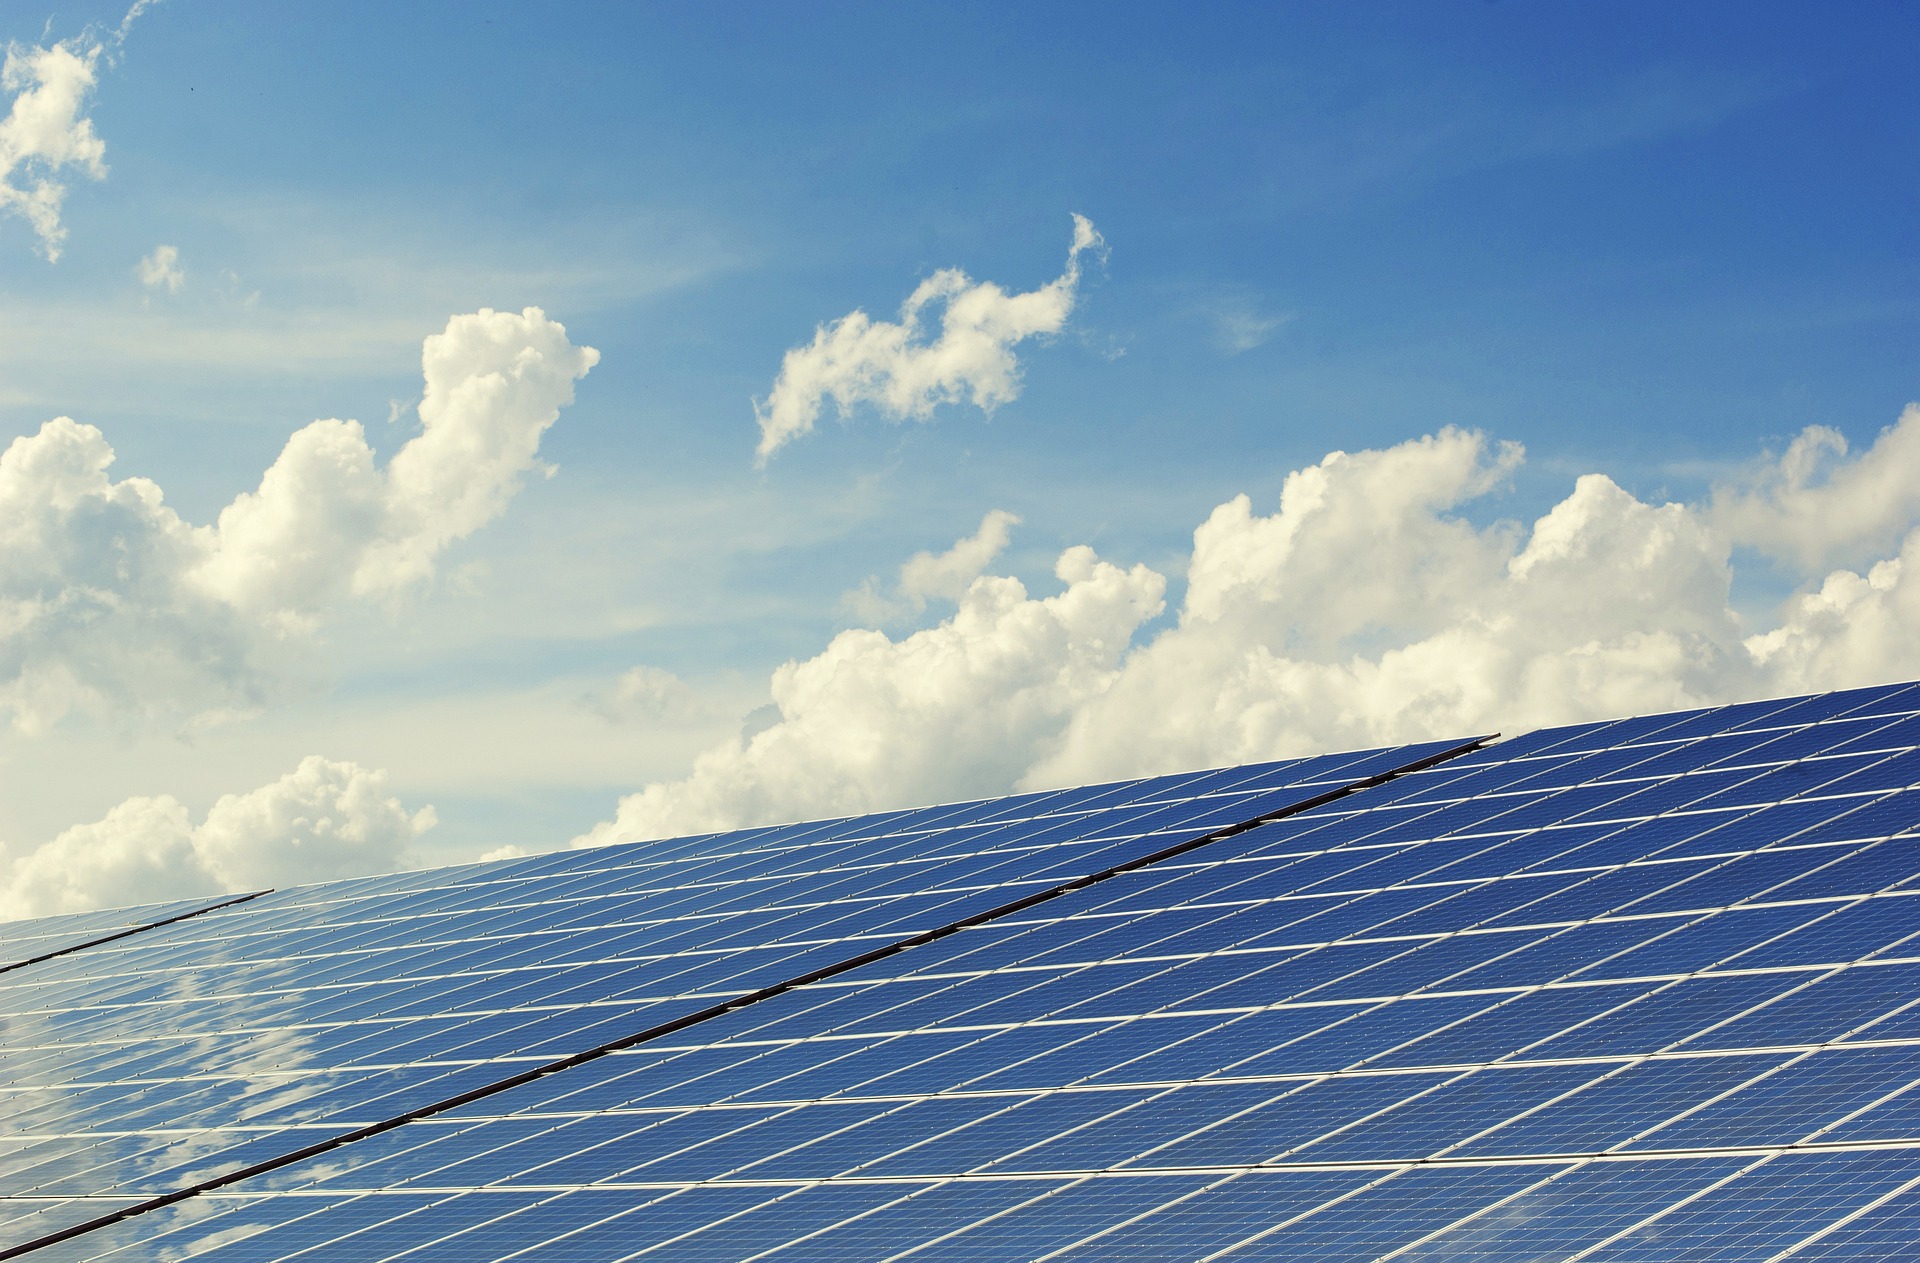
Now you have a wonderful energy-efficient home and a battery storage system which stores energy during off-peak hours and then powers your home during on-peak times. Let's do the last step, i.e., charging the batteries through solar panels!

To do this, you need:

-Maximum Power Point Tracking (MPPT) battery chargers such as this

-Some solar panels

-Wires: right gauge/length for outdoor solar panel use, such as these, and appropriate wires between your consumer unit and storage shed/kiosk

-Protection fuses and isolation for your solar panels/MPPTs

Carefully assemble all the components, and you will have a solar-powered system at your home/shed/annex.

Congrats! With this, your solarification project is complete! You need not stop here. You can add more batteries and panels and upgrade the inverter/other systems over several years as per your budget and savings. Good luck on your journey towards a Net Zero home!